Christmas time is here and yes, I do enjoy eating some Christmas treats during the holiday season but I have a secret. Well, two secrets: I don’t like Christmas that much and I’m not the best cook.
Why am I making Christmas treats when I’m not a good cook and don’t even like Christmas? Well, if I’m going to make it on my own in life when I graduate then I should definitely practice my cooking skills. As terrified and doubtful as my mom is about me in the kitchen, I feel like I’m capable of becoming a decent or a very DIY version of Gordon Ramsay. Plus I have a 3.8 GPA so it shouldn’t be that bad, right?
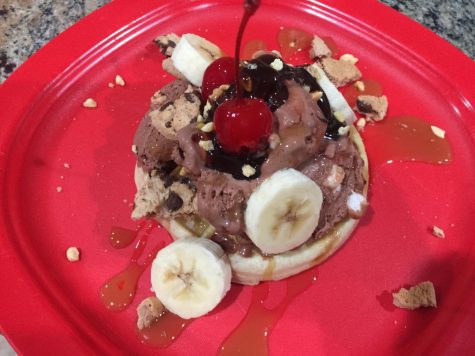
Sundae: You may argue with me and think that having ice cream during winter doesn’t make sense but I’ve found having ice cream can be such a sweet treat to have while sitting by the fireplace and watching a Christmas movie. Plus it’s super easy when you literally have no kitchen experience like me.
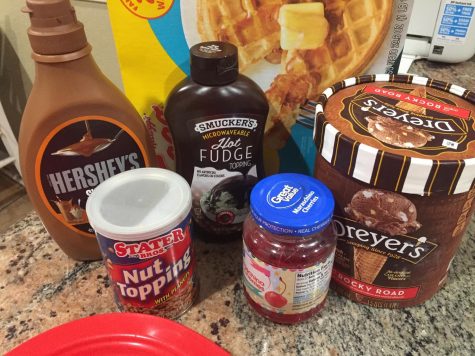
Ingredients: Box of waffles, fudge sauce, caramel syrup, cherries, bananas, icemcream, peanuts, and cookies.
- First put a waffle in your toaster oven. Toast it for about 3-4 minutes until it has a nice warm tone. I recommend doing so because you don’t want your waffle to be too crunchy but very chewable.
- While your waffle is in the toaster oven, take out a cookie and crack in half until you have big crumbs.
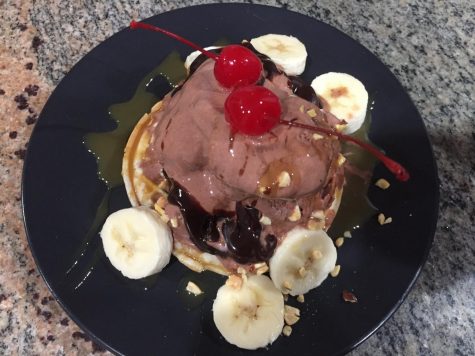
- When your waffle is done, place it on a plate. Then take a couple of scoops of your favorite ice cream and place it on the waffle.
- Now is the fun part. Take your caramel sauce and drizzle it all over the ice cream and the waffle.
- Take your cookie crumbs and sprinkle them on your ice cream.
- Next, cut up some bananas and place the pieces on the ice cream.
- Squeeze some fudge sauce on top of the ice cream.
- Finally, top it off with a cherry or two.
- For final touches you can sprinkle some peanuts or sprinkles on top to perfect your sundae.
Final Thoughts: Okay, I couldn’t stop thinking about how visually pleasing the sundae was going to look that I underestimated the process that actually goes into making a sundae. You might be wondering how I could’ve messed up a sundae. Well maybe the sundae had its own plans when it started to melt midway into the process. As I was trying to battle this melting mountain I still had to cut up the bananas. Then I forgot about warming the fudge sauce which made my melting sundae even worse since this big chocolate glob was not visually appealing as it started to slide down the melting ice cream. Now trying to put the cherry on top was the hardest challenge because it kept on sliding down. After all of that, I got frustrated and started the process all over again.
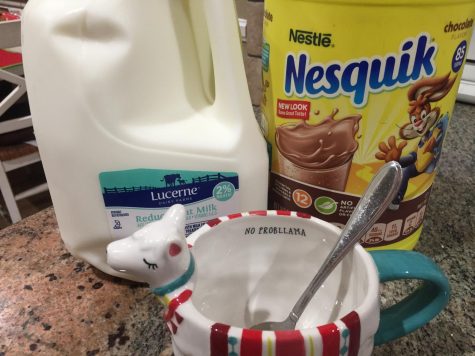
Hot-Chocolate: I love drinking some hot chocolate during the holiday season and honestly to me this is definitely a mandatory Christmas tradition.
Ingredients: Milk, chocolate powder, and small marshmallows.
- First you take your favorite holiday mug and pour some milk inside.
- Next you take about 2 or 3 spoons of chocolate powder and put it into the milk.
- Then you stir the milk until the milk turns brown.
- After that you place it in the microwave for about 30 seconds or at any preferred time. It depends on how hot you want your hot-chocolate to be.
- Take the mug out of the microwave and place some marshmallows inside the mug.
- Now you have yourself a hot-chocolate.

Final Thoughts: So the hot chocolate was a disaster as well because I didn’t have tiny marshmallows. I had to cut these big marshmallows into smaller pieces which were not cute at all. Then as I was cutting them they kept on getting stuck to my fingers and I almost screamed in my kitchen from how frustrated I was about trying to get them off. As I was mixing the chocolate powder with the milk, it had this odd consistency with little chocolate chunks. After I finished making the hot chocolate is when I decided to check the expiration date on the chocolate powder which turned out to be almost 5 months ago! This was definitely a disaster from the beginning.
Cookies: You can’t have hot chocolate without some warm cookies right out of the oven. Cookies are definitely a mandatory Christmas treat. Luckily enough, I already had a tub of pre-made cookie dough that just needed to be placed on a tray and put into the oven. You can follow the directions below but I definitely recommend reading my final thoughts first on this process.
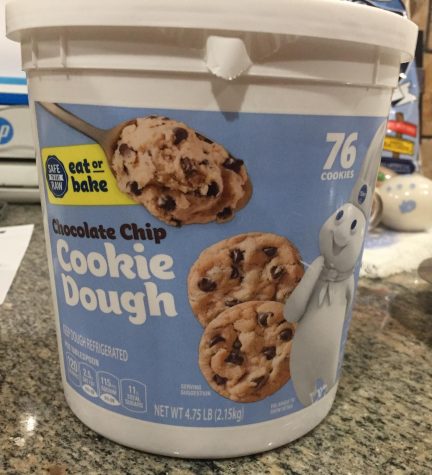
Ingredients: Pillsbury Chocolate Chip Cookie Dough, aluminum foil, metal tray
- Preheat the oven to 350 degrees.
- Get a metal tray and lay out a piece of tin foil on it.
- Then take small portions of the dough and roll it into a ball.
- Then place these on the sheet of tin foil while evenly spreading them out.
- Place the tray into the oven and wait 11 minutes.
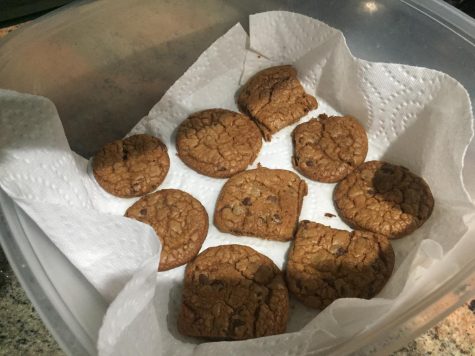
- After 11 minutes have passed, take the cookies out of the oven and set them down to cool for a couple of minutes.
- Once the cookies are cooled down, pour yourself a glass of milk and enjoy some cookies.
Final Thoughts: Sometimes I think I have the worst luck in the world because our oven broke right before wanting to bake cookies so I had to use our Cuisinart Toaster. Since I had to use the toaster oven it made the process longer because I could only fit about 9 cookies on a tray. The one thing I definitely recommend is, if you like your cookies to be chewy and not so crunchy, to place the cookies in a sealed container with a piece of bread. The bread is able to provide the cookies the moisture it’s going to need to stay soft as long as possible.
Overall, I do believe that these are simple and easy Christmas treats but I honestly recommend giving them a try and having some fun with it. I wish anyone who wishes to try and make these treats with the best of luck. Hopefully, you have better luck than I did and I think I’m going to steer away from making Christmas treats for awhile.